❯ Post-Processing: Before & Afters
| 09-25-2011, 12:10 AM | #353 |
|
Colonel
 
285
Rep 2,576
Posts |
Took this one a LONG time ago, but just got around to PP it now...tell me what you think
Before:  After: 
__________________
----------------------------------------------------
|
|
Appreciate
0
|
| 10-05-2011, 02:48 AM | #354 |
|
no longer a BMW owner
174
Rep 1,463
Posts |
Before
 Before (SOOC) by jsophoto, on Flickr After  After by jsophoto, on Flickr metadata and processing info are on Flickr |
|
Appreciate
0
|
| 10-05-2011, 04:11 AM | #355 |
|
Lieutenant
 67
Rep 479
Posts |
Maybe not car related, but I made this word document to show another forum how I made a made a picture of a Finnish rifle backed by a Finnish flag.
You guys all probably know all this and are way beyond my skills. I know PS 4.0 is really basic, but I like the calendar creator that lets you make calendars by the month instead of having to make a whole year's worth. I like to make calendars with my pictures. Here is a tutorial on the steps I took to create my Finn M39 picture using Photoshop Elements 4.0. 1. I took the picture of the rifle with a Panasonic FZ-20 camera using two Vivitar 283 flashes. The first flash was connected to the camera by a cable and the second was triggered by a slave unit. The slave flash was pointed at the ceiling and the flash on the camera was pointed at the floor (or rug in this case). The rifle was just set on two chairs in my living room:  2. I used the magic extractor to separate the rifle from the background and rotated the rifle to fit diagonally in the frame. I also resized the picture to 700 width.  3. I then worked on the background. I chose a small round Finnish flag badge. The original size was 107X107. I resized to to 600X600 to make it easier to work on:  4. I used the liquify filter to reshape the circle into a square shape:  5. I lightened the image, cropped it and resized it to 600X200:  6. I used the splatter filter to give the Finnish flag some texture:  7. I then moved the rifle onto the Finnish flag background:  |
|
Appreciate
0
|
| 10-05-2011, 02:05 PM | #356 | |
|
Colonel

237
Rep 2,327
Posts
Drives: a white bmw
Join Date: Aug 2008
Location: Cyprus
|
Quote:
 previous two pics (swan, girl)i like the before more than the after
__________________
E90post E9x photo game= 67[70-3]
COTM 06/11 http://www.e90post.com/forums/showthread.php?t=531094  My webpage. Feel free to visit My 500px |
|
|
Appreciate
0
|
| 10-05-2011, 02:58 PM | #357 | |
|
no longer a BMW owner
174
Rep 1,463
Posts |
Quote:
|
|
|
Appreciate
0
|
| 10-10-2011, 05:39 AM | #358 |
|
Lieutenant
93
Rep 465
Posts |
took these about a month ago here you go guys! .
before....  after....  before...  after...  before... 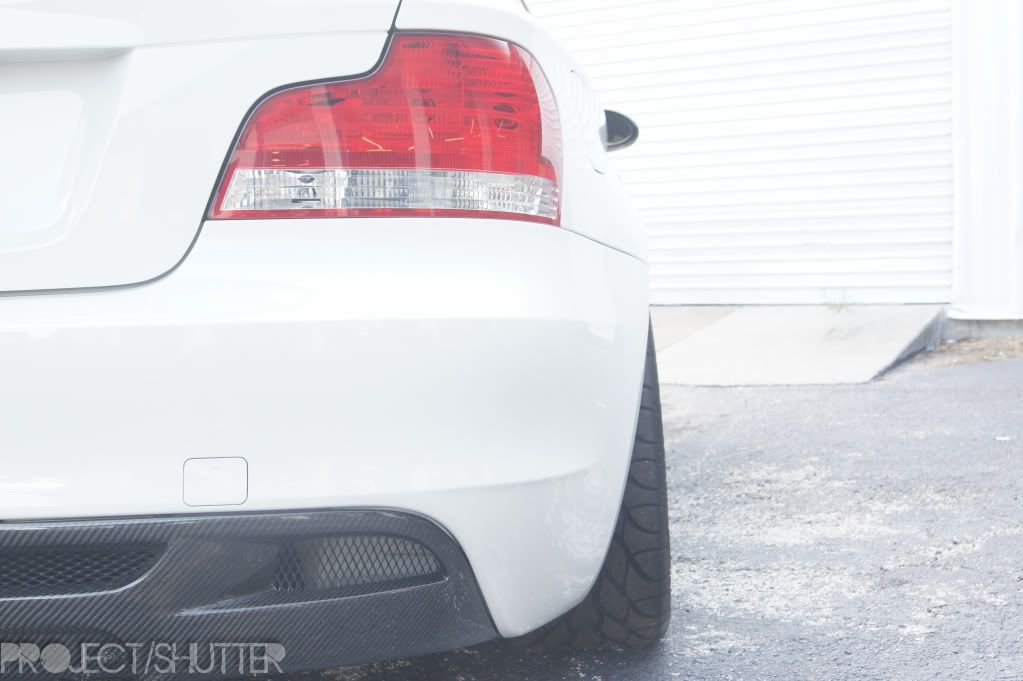 after... 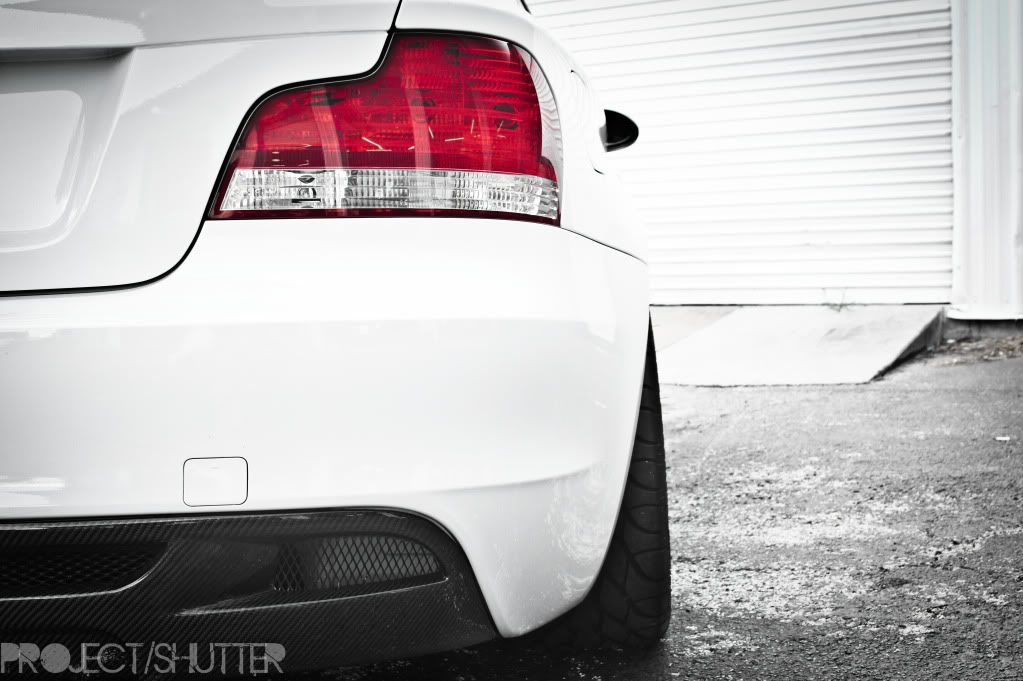
__________________
Current: 18' F80 M3 |Champagne Quartz Metallic/Amaro Brown |ZCP / Exec
6MT Past: 09' E82 135i Alpine White/Coral Red |CCW'D/Caged 6MT Antoine Spignardo Last edited by anttmann; 10-10-2011 at 05:46 AM.. |
|
Appreciate
0
|
| 10-14-2011, 09:00 AM | #359 |
|
Lieutenant Colonel

137
Rep 1,781
Posts |
Took this photo of a friend just to practice facial manipulation. I have to get better at my airbrushing/mixer brushing. It just looks too fake at this point.
|
|
Appreciate
0
|
| 10-14-2011, 09:07 AM | #360 |
|
Lieutenant Colonel
137
Rep 1,781
Posts |
Took this the other night. I was so happy to be able to keep sodium vapor streetlamps out of the frame. I can't wait until they all change to mercury vapors once and for all.
It was a 247 second exposure. |
|
Appreciate
0
|
| 10-14-2011, 10:02 AM | #361 |
|
Free Thinker
20064
Rep 7,561
Posts |
Hey Judd,
Try doing more of your airbrushing in ACR. The spot removal tool is perfect for portrait shots. Once you have spots cleared up, adjust for color and light and so on. Then open in PS, duplicate the layer, and add a surface blur to the top layer. Set the sliders to ~10 for both and adjust to taste. It'll look a bit fake, but then you can adjust the opacity of the blurred layer so it looks more natural. Then flatten and do whatever additional processing you need.  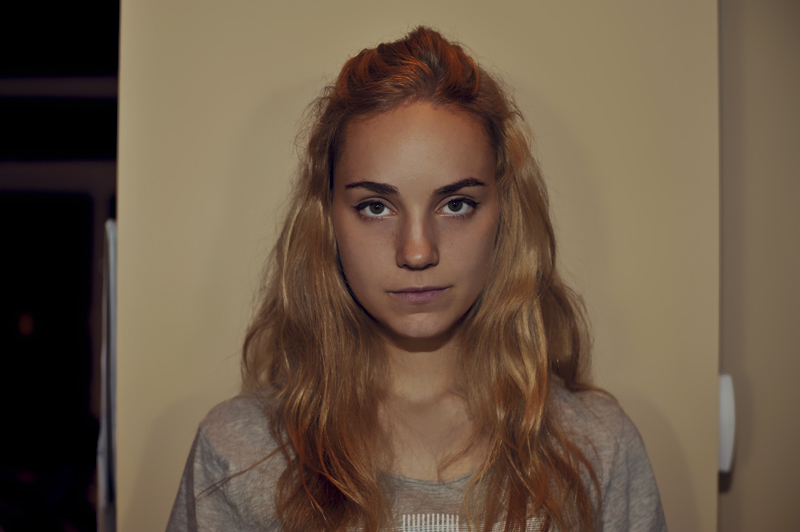 And I know what you mean about street lights. Last night we were out walking and I saw a great scene with the nearly full moon and Venus (I think) shining down on a small pond with a fountain. It would have made a great long exposure image except for the damn street light behind me lighting up the foreground.
__________________
|
|
Appreciate
0
|
| 10-14-2011, 11:09 AM | #362 |
|
Lieutenant Colonel
137
Rep 1,781
Posts |
Thanks for your help! I was more just doing some smoothing for when I added more pronounced cheekbones; I wanted to blend the shadows. It was really an experiment to see how different she could look. I have even scarier edits, don't you worry.
|
|
Appreciate
0
|
| 10-14-2011, 11:31 AM | #363 |
|
Free Thinker
20064
Rep 7,561
Posts |
Sometimes over-the-top stuff looks good. When it's meant to look fake you might as well go radical. I could see doing a few more edits of her where she'd look seriously evil-beauty like.
__________________
|
|
Appreciate
0
|
| 10-31-2011, 01:35 PM | #364 |
|
Major General

499
Rep 6,798
Posts |
Om nom nom nom
Before:
 After:  Ok... so I guess it's not exactly what you were looking for, in the spirit of this thread. 
__________________
|
|
Appreciate
0
|
| 10-31-2011, 01:46 PM | #365 |
|
Free Thinker
20064
Rep 7,561
Posts |
Damn, I was about to be very impressed, Chewy.
__________________
|
|
Appreciate
0
|
| 10-31-2011, 01:48 PM | #366 |
|
Major General
499
Rep 6,798
Posts |
It still took me like 3 hours Mark! Damn three coats of paint

__________________
|
|
Appreciate
0
|
| 10-31-2011, 02:11 PM | #367 |
|
Free Thinker
20064
Rep 7,561
Posts |
So that's how a newly minted PhD spends his time? Pottery class?

__________________
|
|
Appreciate
0
|
| 10-31-2011, 02:54 PM | #368 |
|
Major General
499
Rep 6,798
Posts |
haha... it's tougher than it looks. Plus, I'll have to admit that I did have a lot of fun.
__________________
|
|
Appreciate
0
|
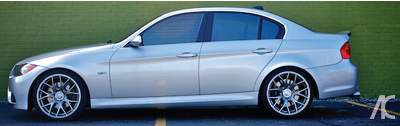
| 11-08-2011, 02:39 PM | #371 |
|
Banned

666
Rep 24,685
Posts
Drives: '04 330i ZHP
Join Date: Dec 2007
Location: Chicago Burbs
|
sweet E91!
|
|
Appreciate
0
|
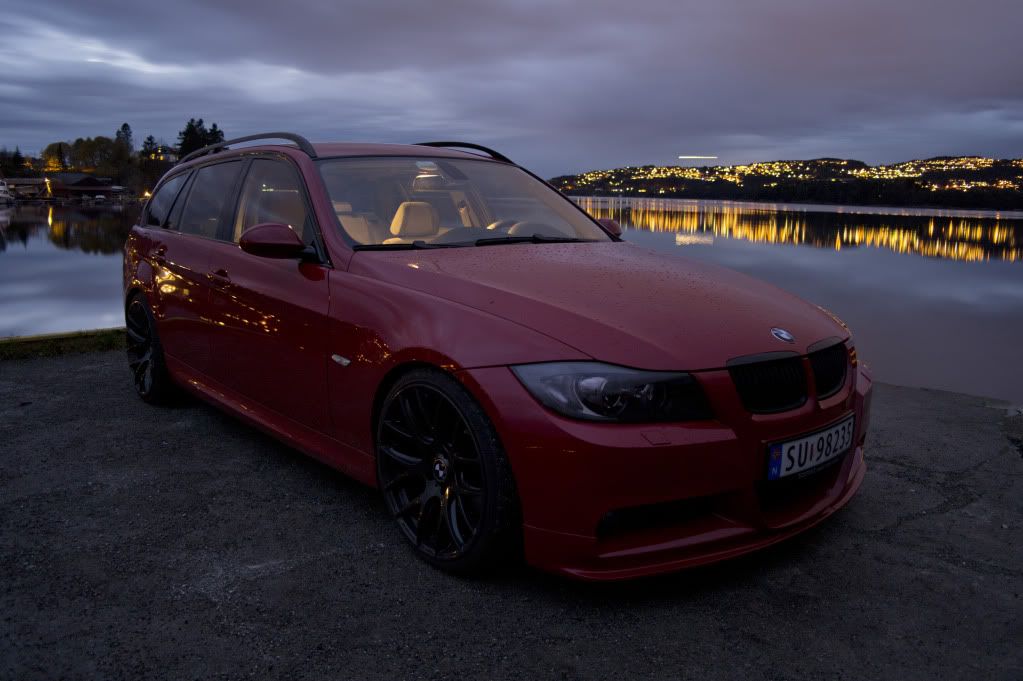
| 11-09-2011, 06:07 AM | #372 | |
|
Loading...
369
Rep 2,187
Posts
Drives: 91' E30 318is
Join Date: Apr 2008
Location: Location
|
Quote:
Edit: Just noticed the front bumper is all pixelated or whatever it's called...  all well. all well. Last edited by AllydNYC; 11-09-2011 at 06:13 AM.. |
|
|
Appreciate
0
|
| 11-09-2011, 04:23 PM | #373 | |
|
Side effects may include...
18
Rep 168
Posts |
Quote:
The pixelation is due to the quality of the of the original pic not being that great. IMO, the original was a tad too dark in some spots, that is why I lightened it up a bit. Also, as mentioned, the quality wasnt that great, so I sized the pic down some. |
|
|
Appreciate
0
|
Post Reply |
| Bookmarks |
|
|